Final 3D Printing
Back
Flash forge
FlashForge is a 3D printer brand known for producing reliable and affordable desktop FDM and resin printers. Popular models include the Creator Pro, Adventurer, and Guider series.
In our lab we have Creator 3 Pro 3D Printer
Specification
| Print Size (L x W x H) (mm) | 300 x 250 x 200 |
| Machine Size (mm) | 627 x 485 x 615 |
| Printing Speed (mm/s) | 10-150 |
| Extruder Type | IDEX (Independent dual extruders) |
| Printing Precision | ±0.2mm |
| Nozzle Diameter (mm) | 0.4mm(0.6/0.8mm) |
| Screen Type | 4.3-inch |
| Extruder Temperature (°C) | 320 |
| Heatbed Temperature (°C) | 120 |
| Filament Compatibility | ABS, ASA, HIPS, PA, PACF, PC, PETG, PLA, PVA, WOOD |
| Data Transmission Method | USB/Wi-Fi/Ethernet |
Flash Print 5
FlashPrint 5 is FlashForge’s updated slicing software for their FDM 3D printers. Features include model editing, auto-repair, and custom image-based reliefs. Users can preview print paths and adjust parameters in real time. It supports PLA, ABS, PETG, and more.
I used the flash print software for my slicing process
I import the file into the Flashprint 5 software one by one to slicing it. At first I load the top parts into the software
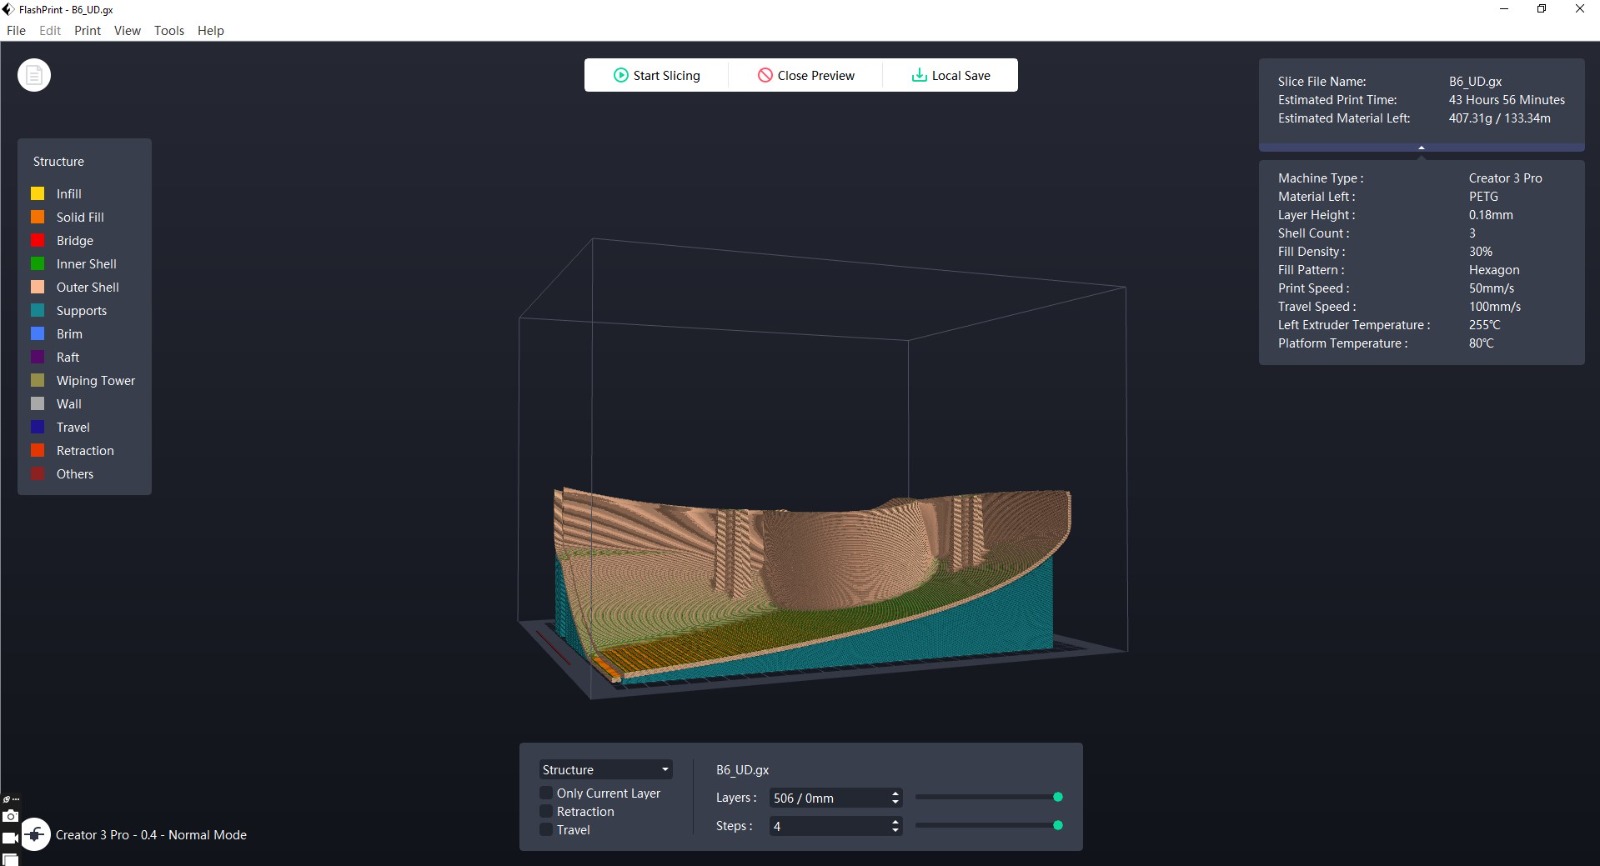
I placed my parts with the good positioning orientation for the optimised surface finish and to reduce the support layer consumption.

Slicing
For printing the parts we need to extract it as STL format


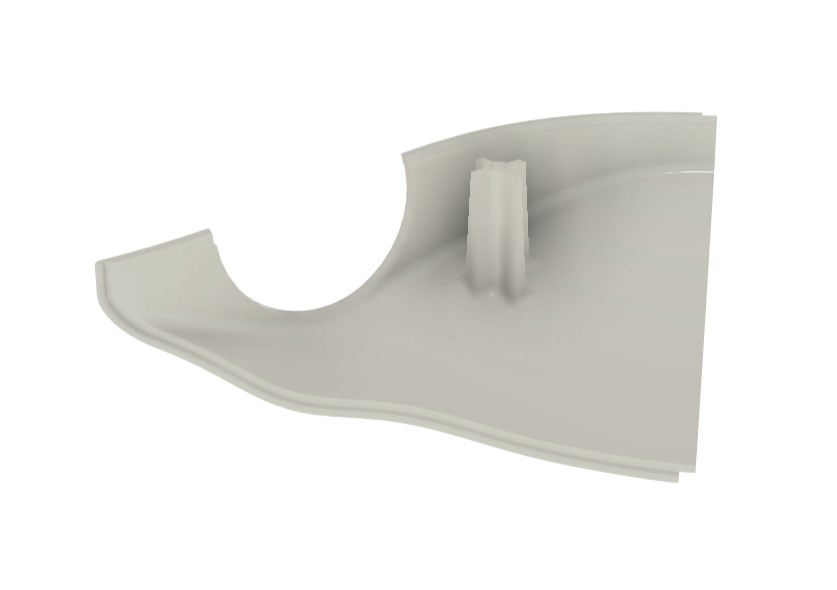
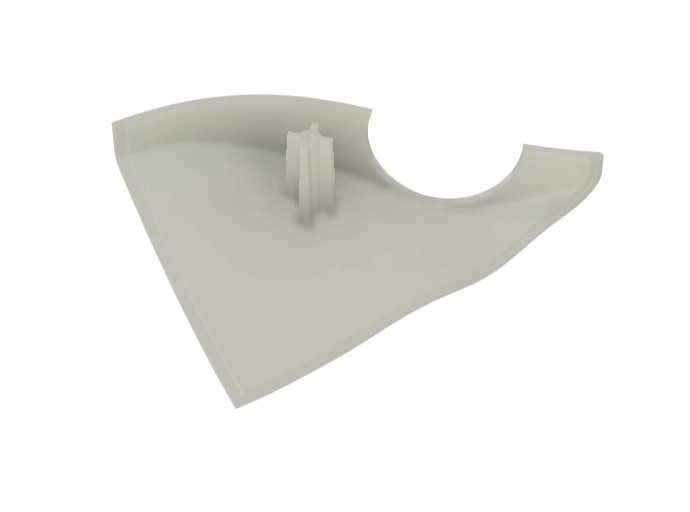
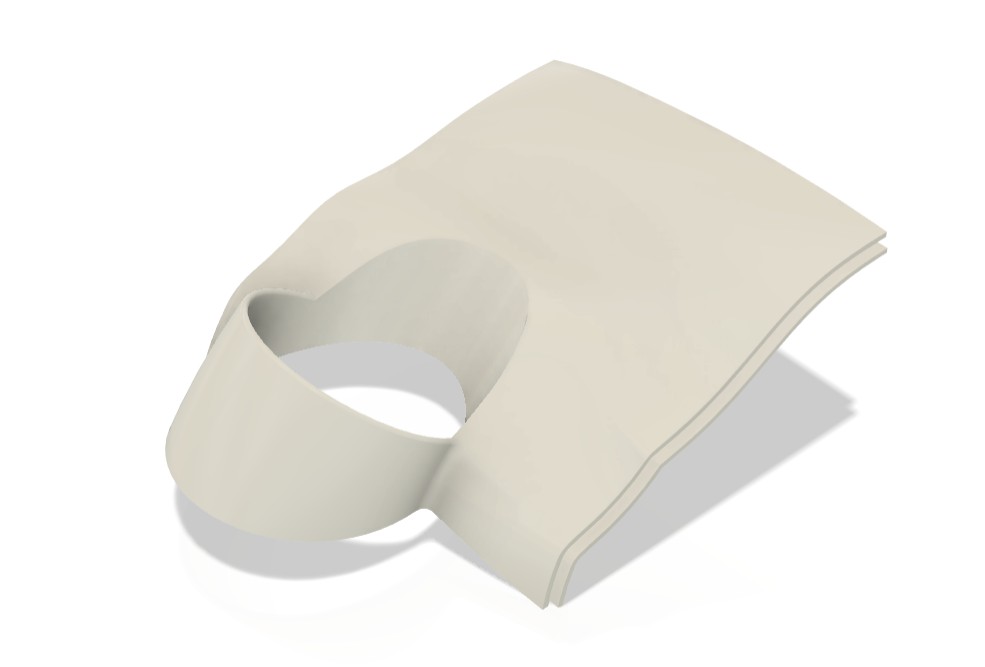
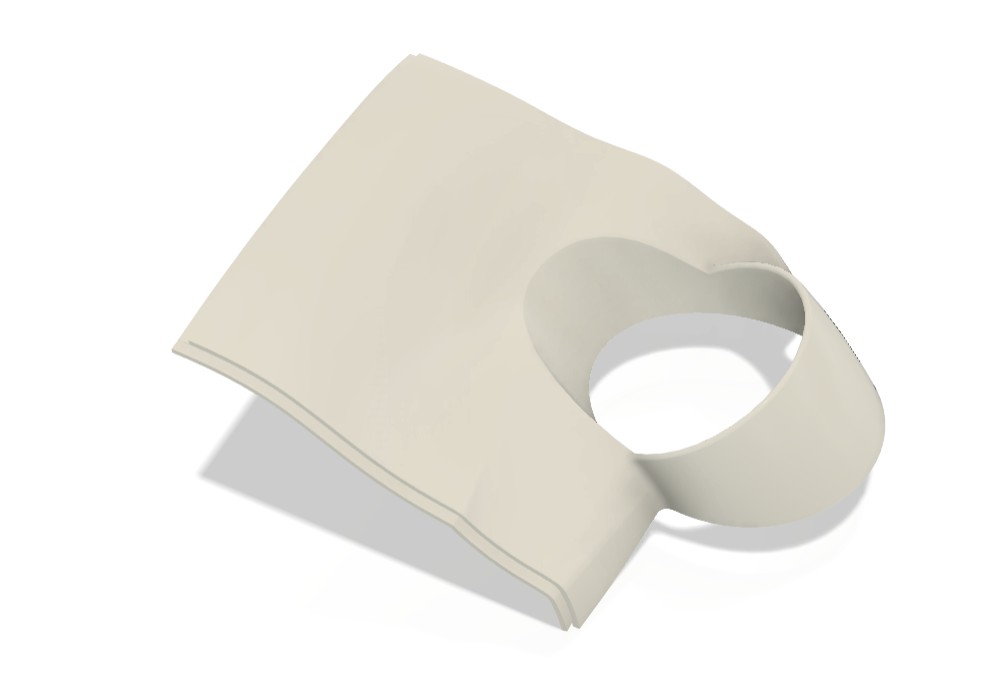
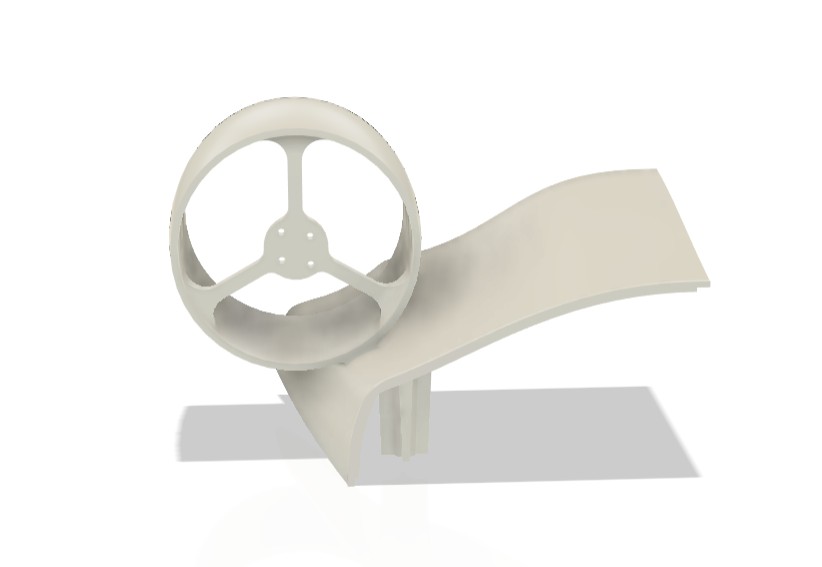
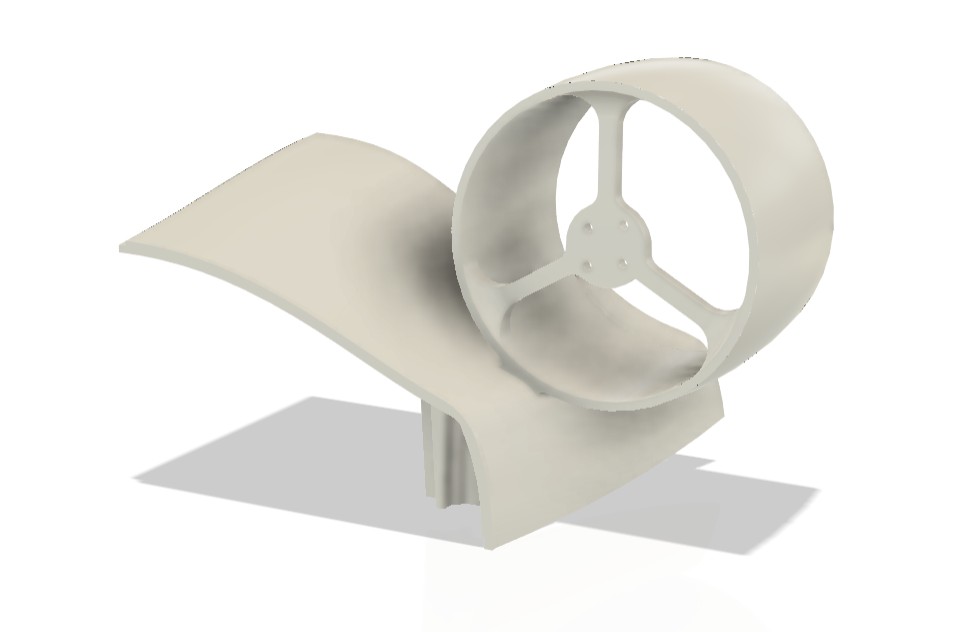
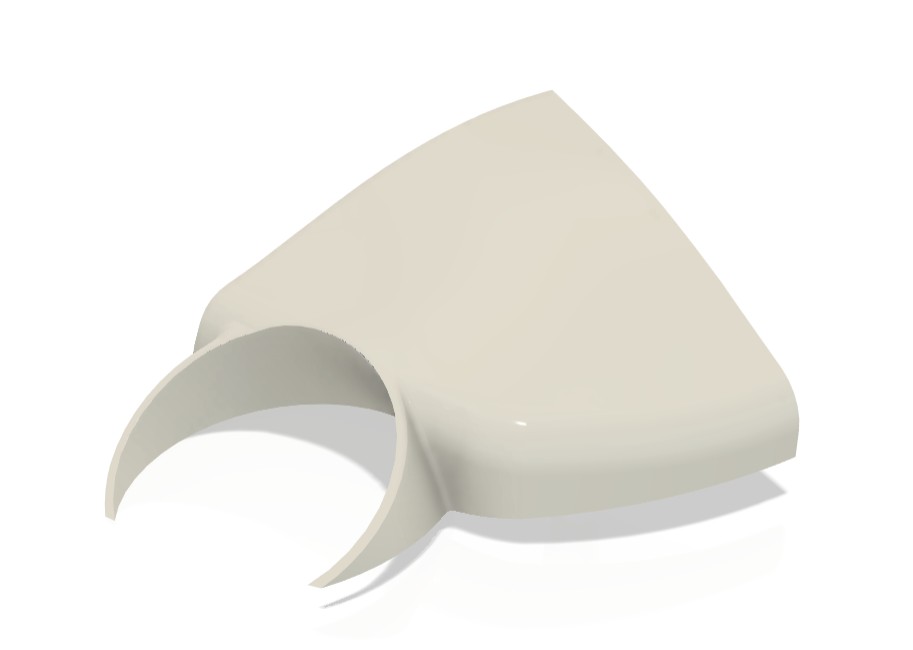
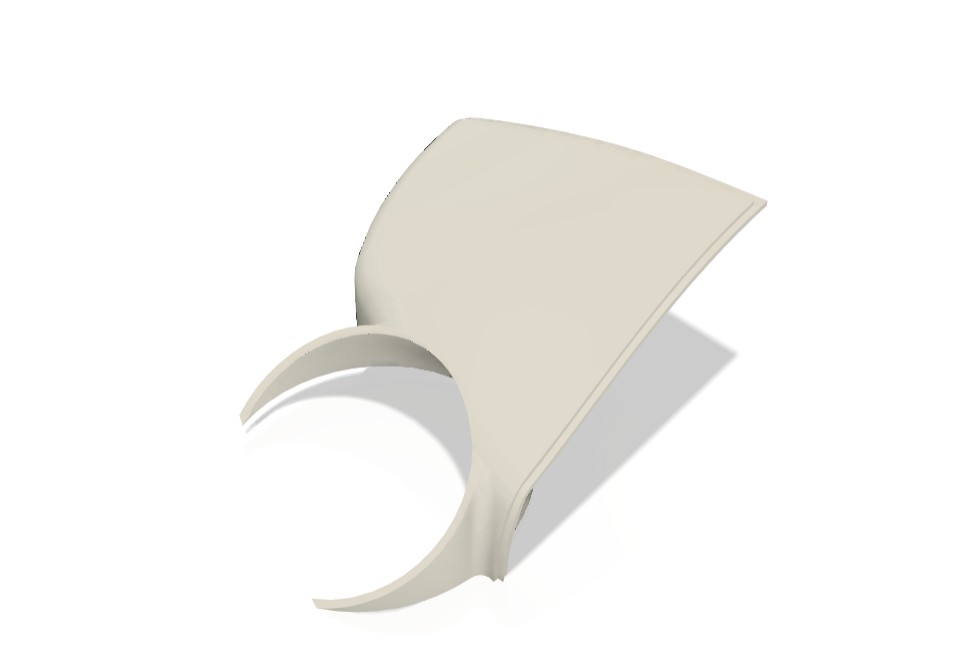
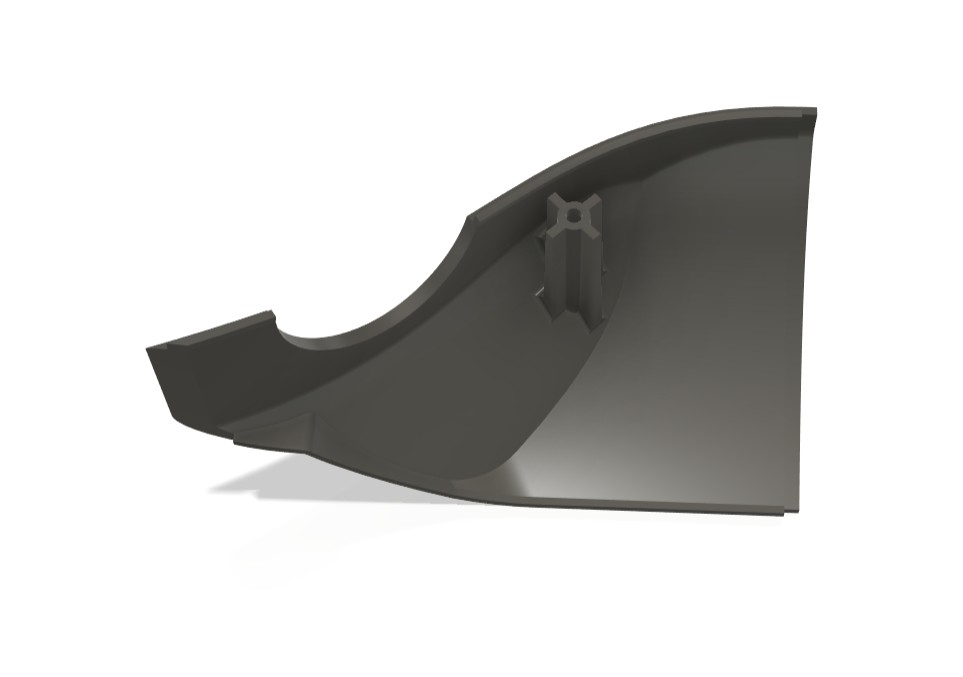
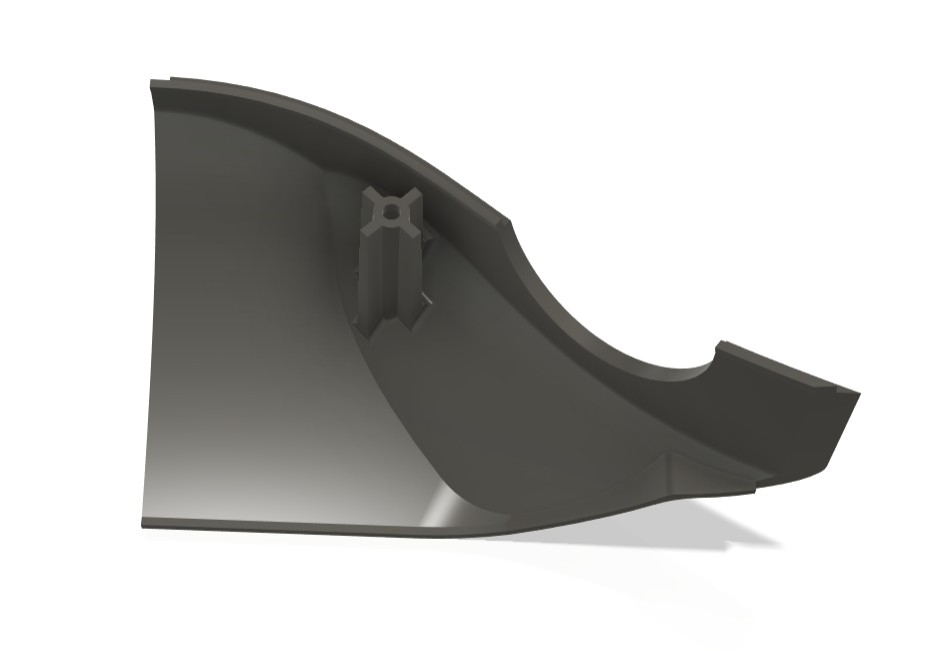
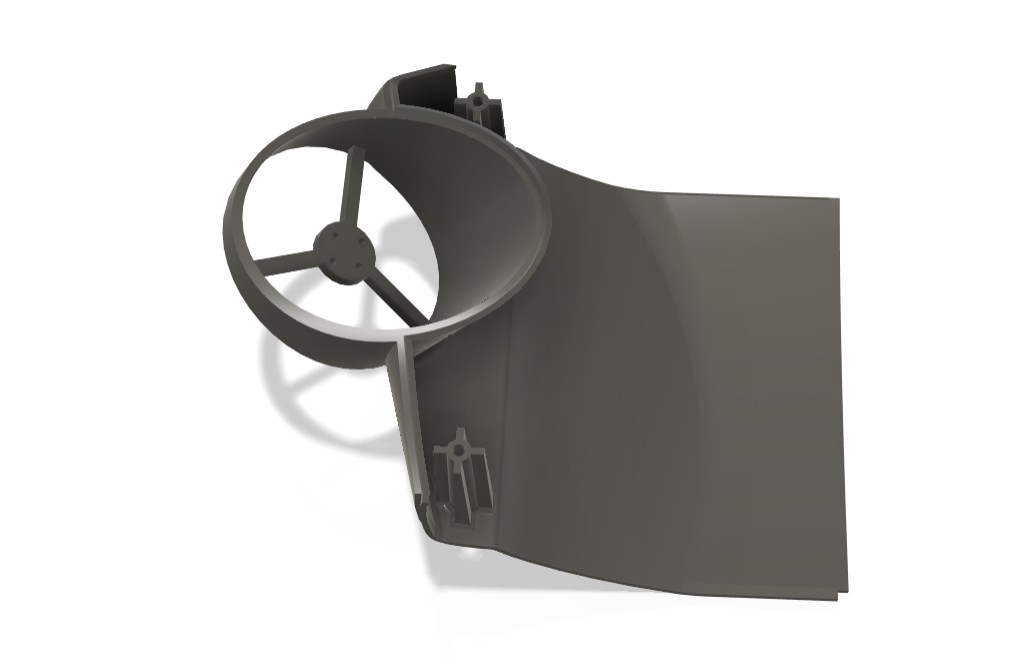
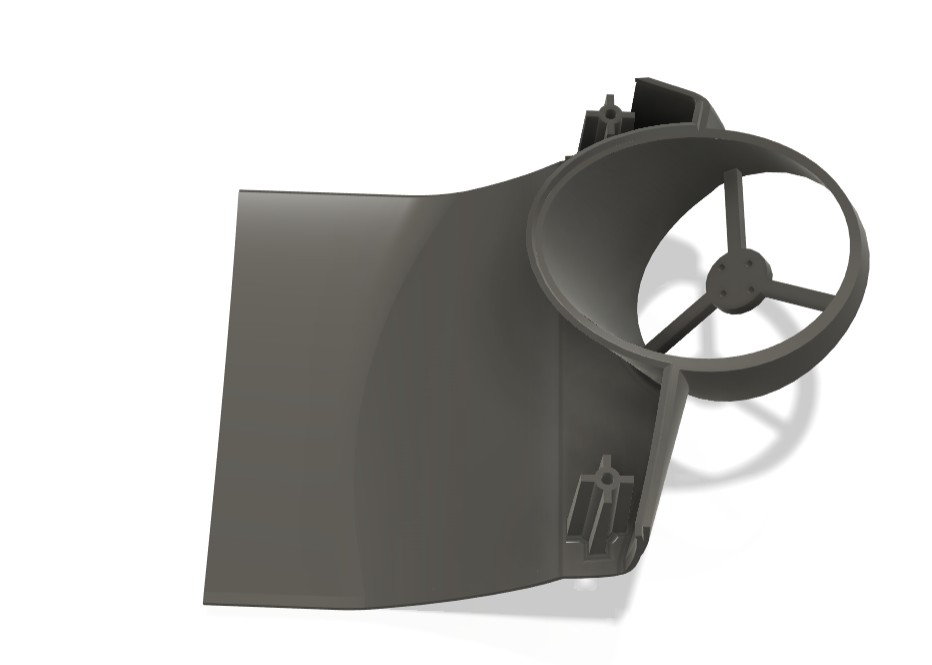
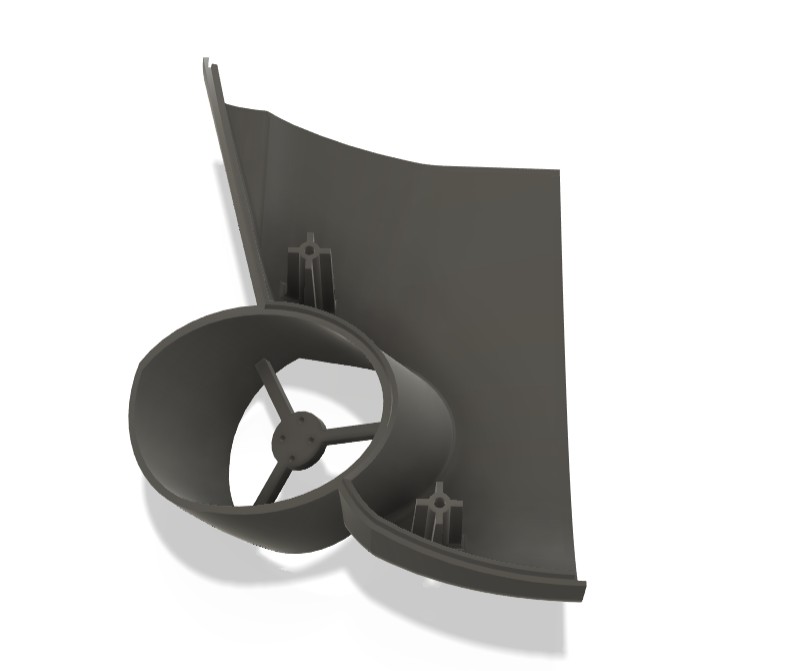
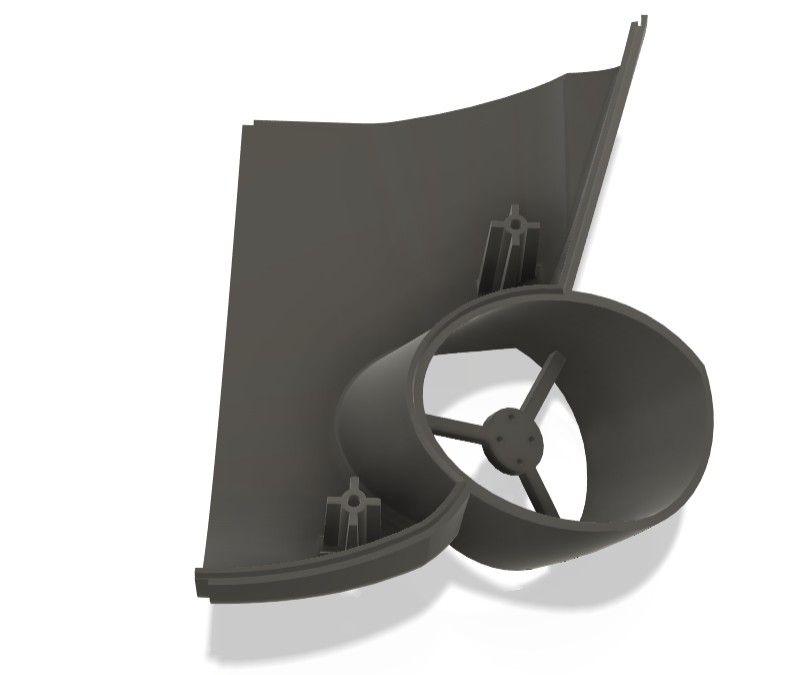
Like this I take out all 14 parts into STL file. Then I used the Flash print software to slicing my desing to convert into gcode
I set the PETG filament to do the printing in the 3D printer
More or less I need 2kg PETG to complete the printing process
I placed my parts in Flash print software with the good positioning orientation for the optimised surface finish and structural integrity.

Challenges
At first I divided my drone into 8 parts and to do the 3D printing, in sllicing part I used the creality software, after I loaded it that part didn’t set properly of its own creality is not supported that much to do the slicing
So I use the rotation options and make it proper orientation


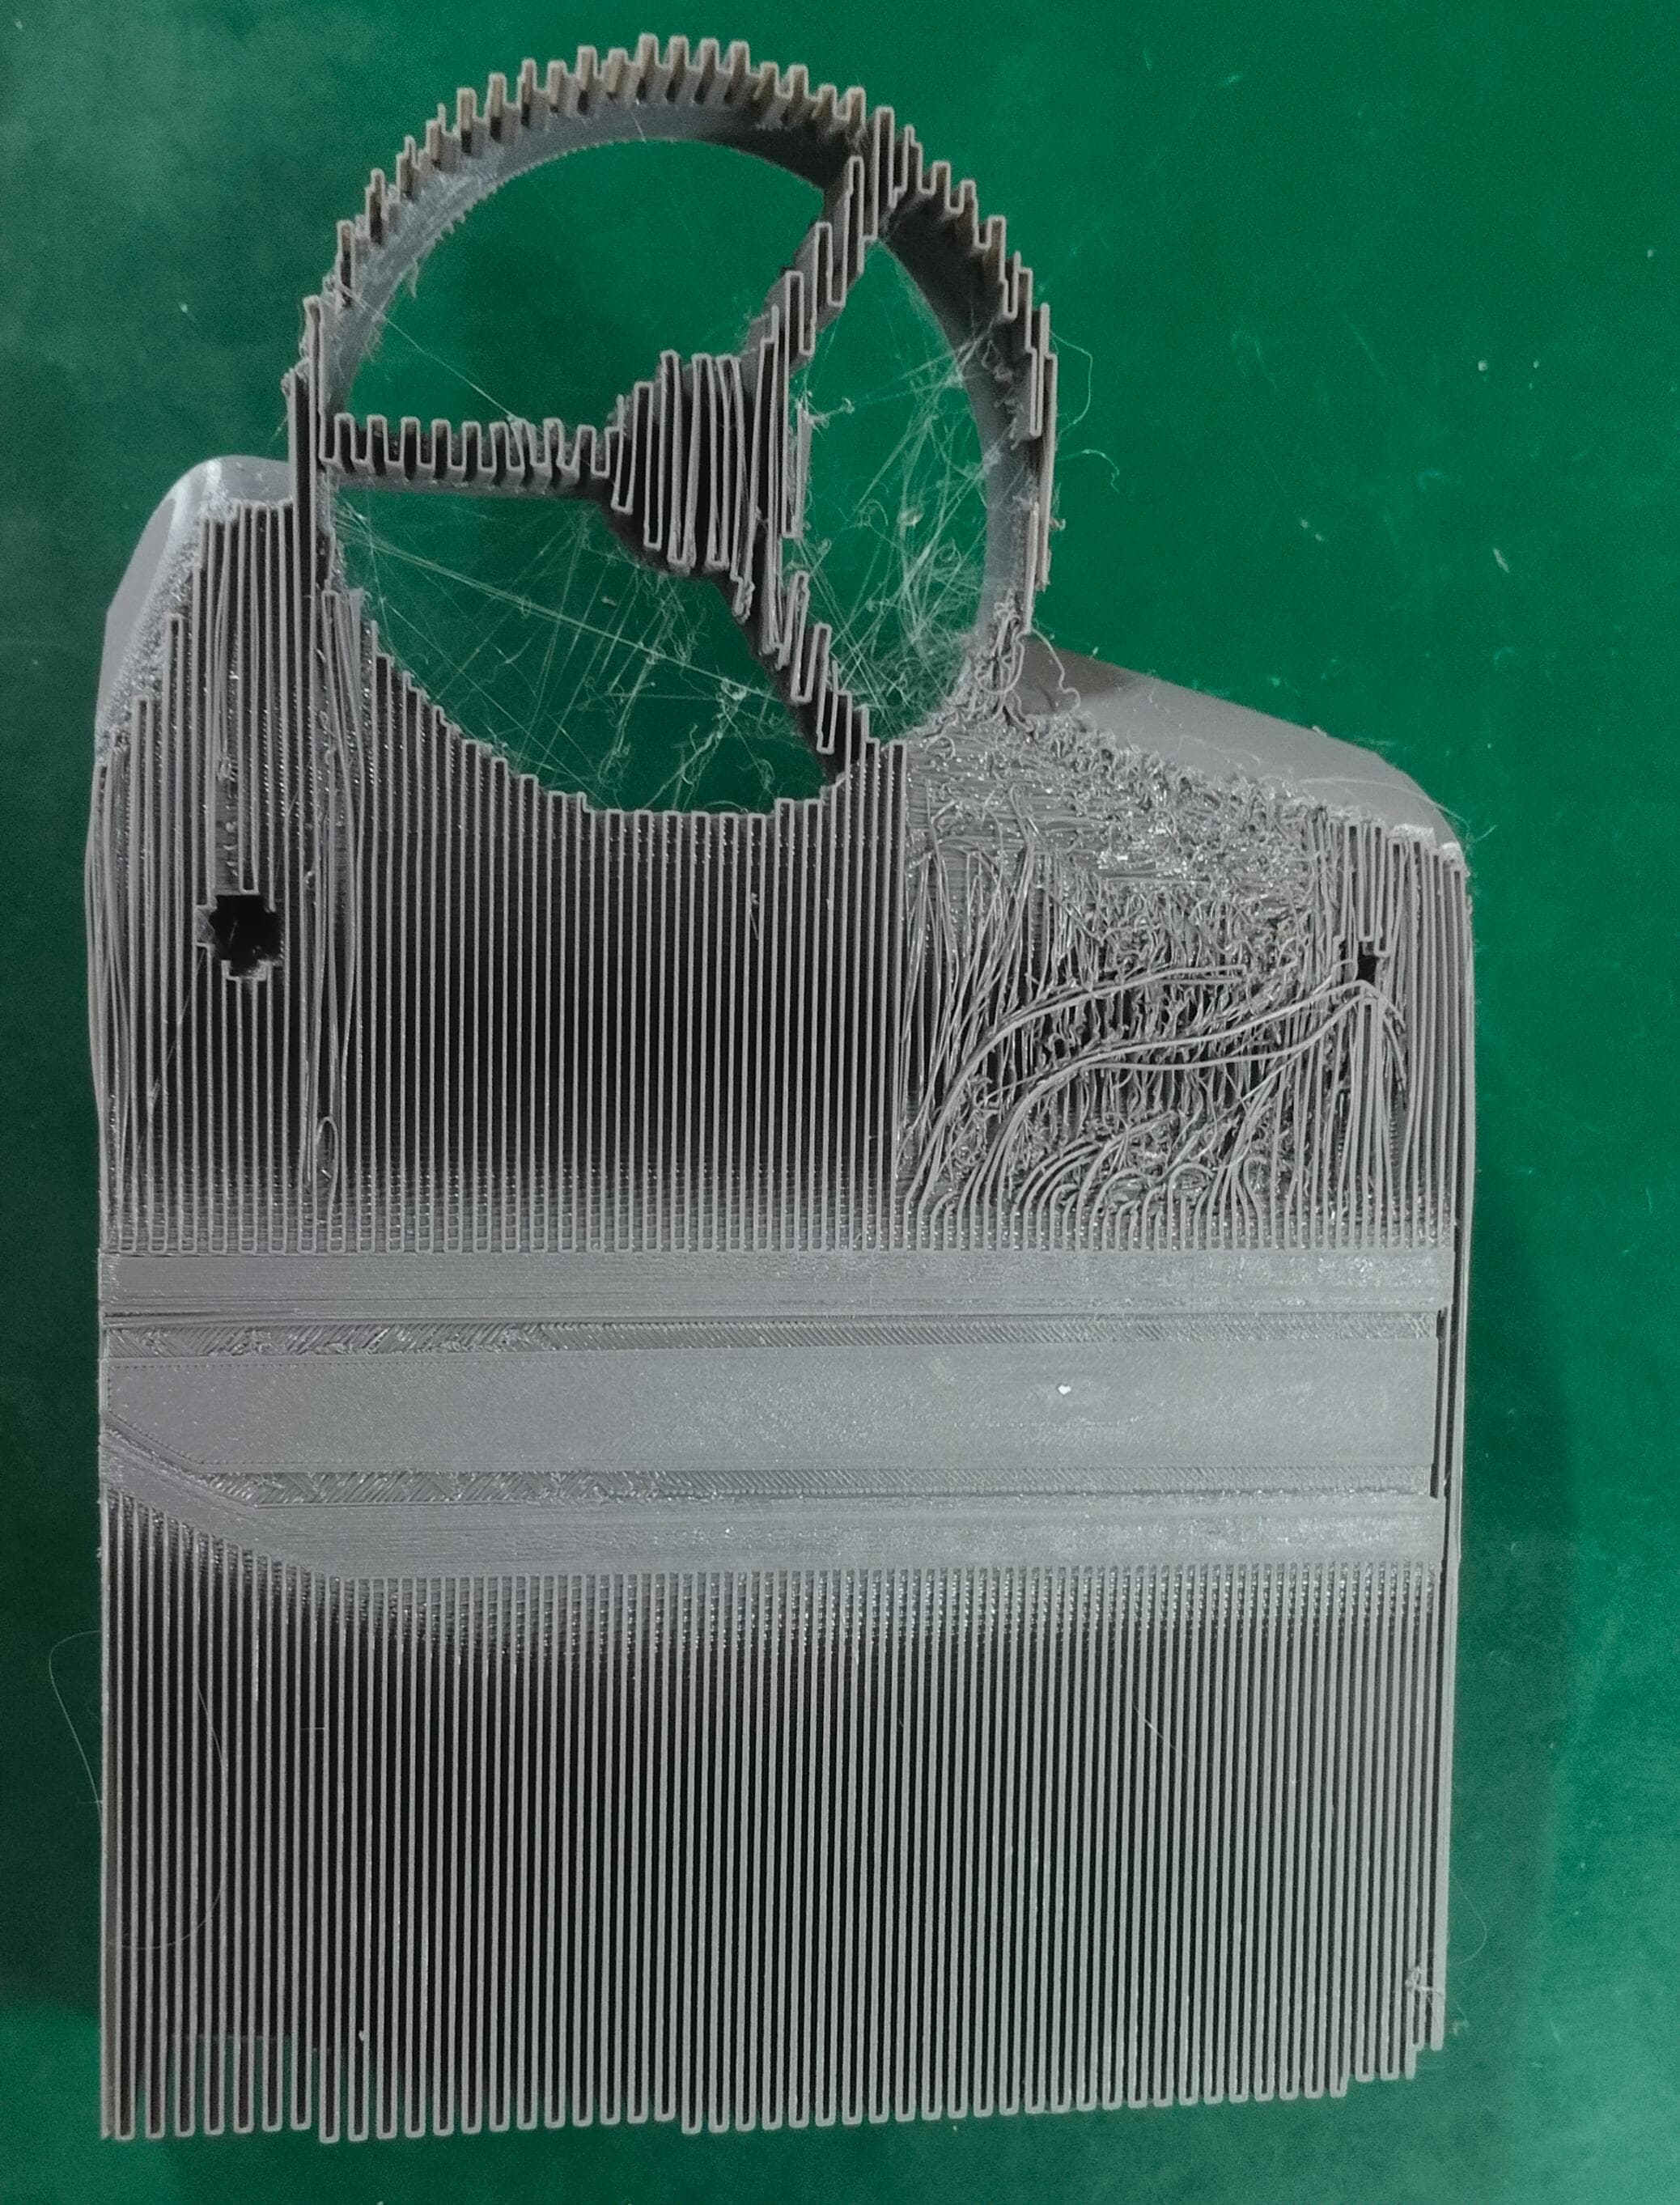
After the slicing I import the gcode into the machine and start printing. But I check the base its printing in outside of the base

Even though I set it into the software right position its printing like this

That is the raft part so I consider to minimize this error manually, so I moved the base plate little bit in front side so it can be printing properly, but I was wrong after seeing the result

In the outside of the printing place there is not enough amount of heat is distribute so the printing parts of that place could not stick properly.
Still I can’t further do next step because the design is too large for this printer as well, so again I consider to divide it into total 14 parts and do the printing by Flash Forge Printer.
